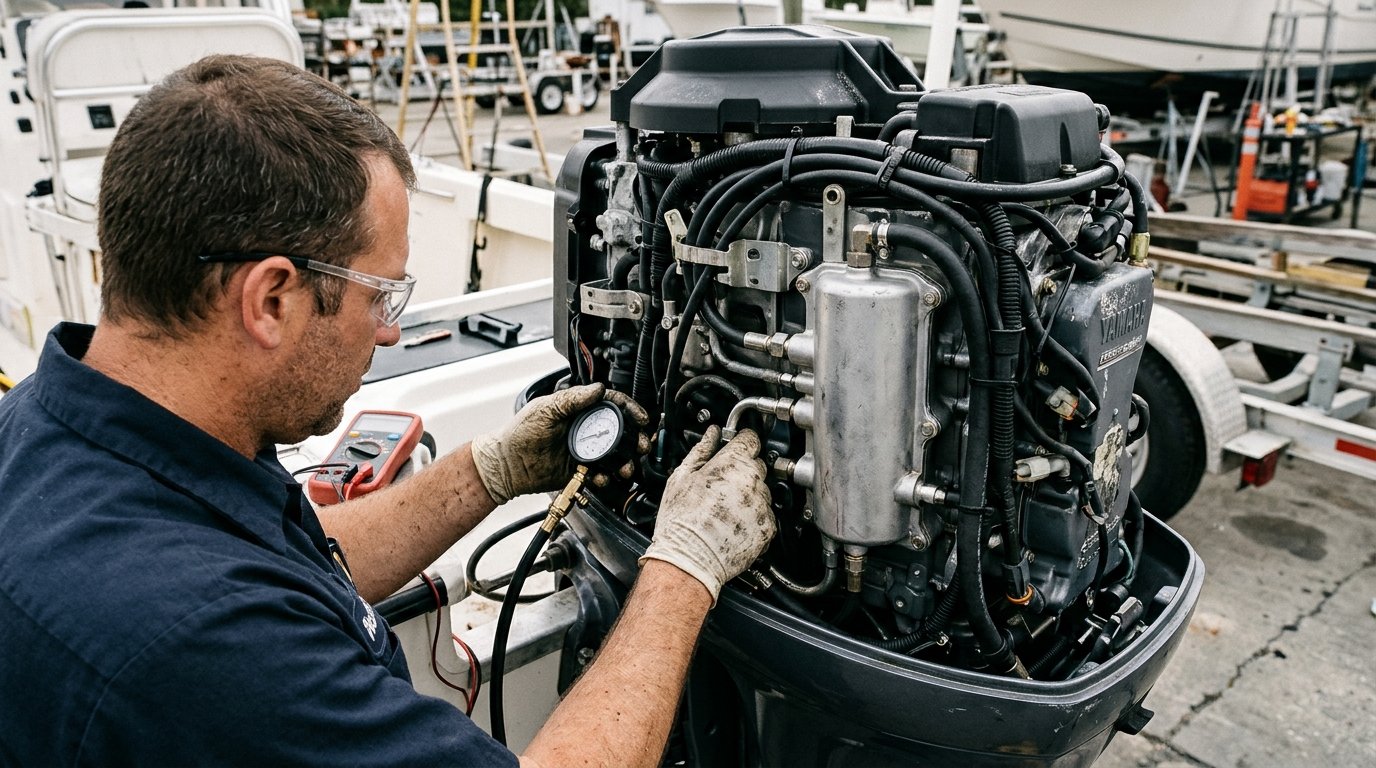
Mastering diagnostic procedures for Yamaha outboard troubleshooting is essential for every boat captain relying on four-stroke Yamaha marine power. From the legendary F150 inline-4 to high-horsepower V6 Offshore F250 and F300 engines, Yamaha outboards deliver proven marine reliability. However, fuel contamination, vapor separator tank (VST) filter clogs, and salt crusting in cooling passages can leave you stranded if left unaddressed.
This comprehensive Yamaha outboard troubleshooting manual breaks down symptoms into actionable mechanical checkpoints: starting failures, bogging down under acceleration, warning buzzer horn alarms, and raw-water cooling faults.
Yamaha Outboard Troubleshooting Diagnostic Flowchart
When your Yamaha four-stroke motor refuses to start or cuts power on the water, follow this systematic diagnostic hierarchy:
| Engine Symptom | Most Probable Cause | Diagnostic Verification Step | Corrective Repair Action |
|---|---|---|---|
| Engine cranks briskly but will not catch | Emergency stop lanyard clip displaced, or no fuel pressure | Check red kill switch clip; listen for electric fuel pump 2-second prime hum when key turns on | Reseat safety lanyard; check 20A main fuel pump fuse and relay |
| Bogs or surges between 2,500 and 4,000 RPM | Clogged Vapor Separator Tank (VST) high-pressure filter | Attach fuel pressure gauge to Schrader valve on fuel rail (should hold 40-44 PSI under load) | Disassemble VST tank; replace fine mesh intake screen and gasket |
| Continuous warning buzzer sounds, RPM drops to 2,000 | Engine overheating or critical low oil pressure | Check water telltale stream; check dipstick oil level and Yamaha Command Link digital gauge display | Shut down immediately. Inspect water pump impeller, clean poppet valve, check oil level |
| Engine idles smoothly but dies when put in gear | Shift cut switch misadjusted, or low-pressure fuel diaphragm leak | Inspect mechanical shift linkage sensor switch on port side of powerhead | Adjust shift cable free play; replace low-pressure mechanical fuel pump |
The Infamous Yamaha VST Filter: Symptoms & Cleaning Protocol
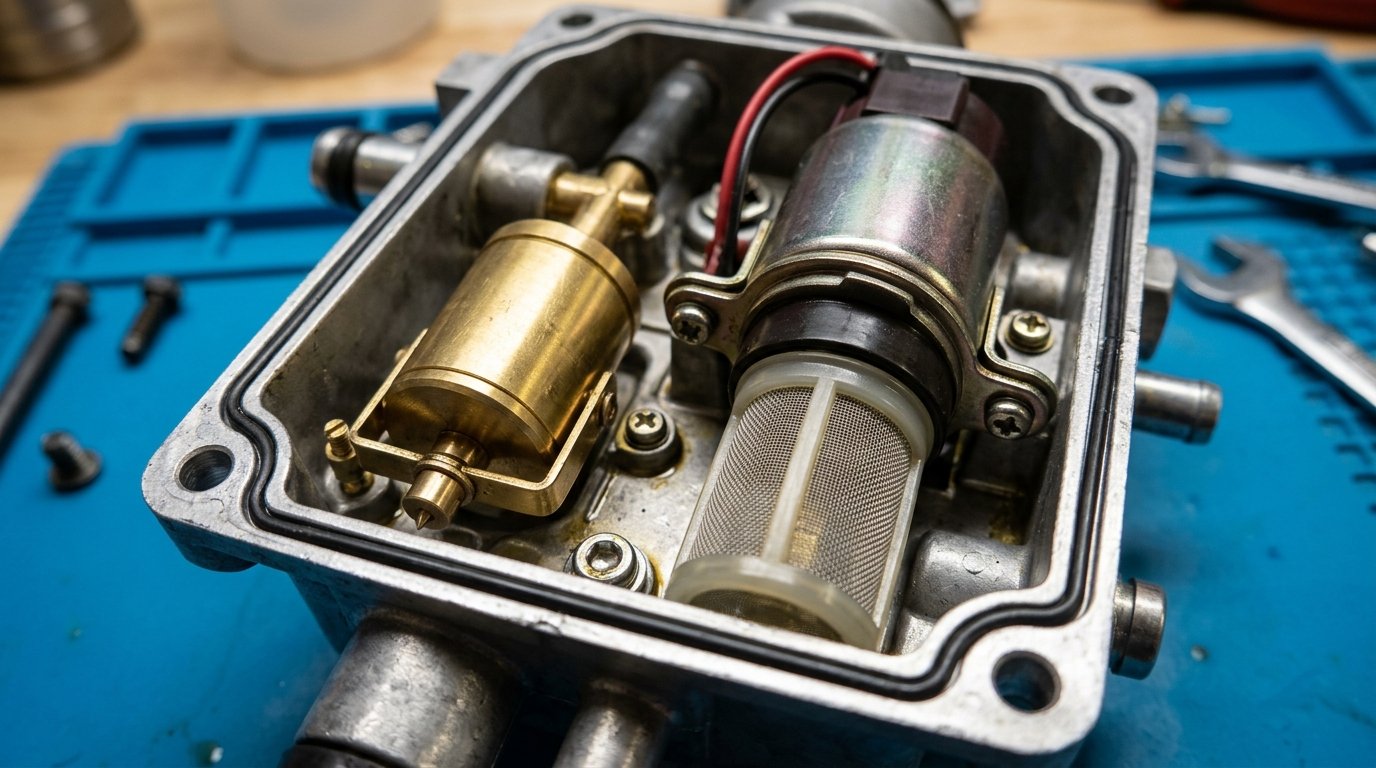
Modern electronic fuel injected (EFI) Yamaha outboards incorporate a specialized Vapor Separator Tank (VST) designed to separate air bubbles from gasoline before fuel enters the high-pressure fuel rail. Located inside the VST is a high-pressure electric fuel pump with a micro-mesh inlet filter basket.
When ethanol-blended gasoline (E10) sits in boat fuel tanks, it absorbs moisture and creates microscopic varnish deposits. Over time, these gums clog the VST filter screen, starving the engine of fuel above 3,000 RPM. Common signs of a clogged VST filter include:
- Normal starting and smooth idle, but engine chokes and falls flat when you push throttle forward.
- Surging speed at cruising RPM as the fuel pump intermittently starves for flow.
- Fuel rail pressure dropping from 43 PSI down to 20 PSI when accelerating under load.
Step-by-Step VST Filter Service:
- Disconnect main negative battery cables to eliminate electrical spark risks.
- Relieve fuel system residual pressure via the Schrader valve on the fuel rail into a shop rag.
- Remove the intake manifold bolts and loosen the aluminum VST assembly on the port side of the engine block.
- Carefully separate the lower tank bowl from the upper housing, taking care not to pinch the internal rubber seal gasket.
- Unclip the high-pressure electric fuel pump, remove the small black or white mesh pickup filter, and clean thoroughly with aerosol carburetor cleaner or replace with a new OEM filter.
- Always replace the VST tank bowl seal gasket with genuine Yamalube gasket stock to prevent high-pressure fuel leaks.
Yamaha Cooling System: Poppet Valve & Impeller Diagnostics
A weak telltale “pisser” stream or overheating at low speed is another frequent Yamaha outboard issue. The Yamaha cooling system relies on two critical components:
1. The Rubber Water Pump Impeller
Yamaha recommends replacing the neoprene water pump impeller every 100 hours or 12 months. Sand, silt, and dry running can melt the flexible vanes in seconds. Always replace the complete water pump rebuild kit, including the stainless steel cup liner and wear plate, rather than just the rubber impeller wheel.
2. The Pressure Control Poppet Valve
Located on the lower aft section of the cylinder block, the Yamaha poppet valve regulates cooling water pressure. At idle, the spring-loaded valve stays closed to ensure adequate water reaches the top cylinders. At high RPM, water pressure forces the valve open to dump excess volume.
In saltwater environments, salt crystals and mineral scale coat the poppet valve shaft, causing it to stick open or closed. If it sticks open, the engine overheats at idle because water dumps out before cooling the powerhead. Remove the two 10mm bolts holding the poppet cover, soak the spring and rubber diaphragm in white vinegar or marine descaler, and reinstall with a fresh gasket.
Electrical Grounds & Battery Voltage Demands
Yamaha Electronic Control Units (ECUs) require steady DC voltage to operate fuel injectors and coil packs correctly. A corroded engine ground strap or weak battery bank can trigger false overheat and sensor alarms. Inspect your battery connections and terminal crimps according to our marine battery care guide and review our marine electrical systems 101 guide.
Also explore our master outboard motor troubleshooting guide and compare diagnostic steps against our Mercury outboard troubleshooting guide.
When planning your annual budget, accurate Yamaha outboard troubleshooting metrics help you avoid unexpected expenses and extend vessel longevity.
Frequently Asked Questions About Yamaha Outboard Troubleshooting
Why does my Yamaha outboard beep continuously when running?
A continuous, non-stop alarm tone on Yamaha outboards indicates one of two critical emergencies: high engine coolant temperature (overheating) or critically low engine oil pressure. In both cases, the Yamaha Command Link Guardian system drops engine speed to approximately 2,000 RPM to protect the powerhead. Throttle back to neutral immediately and shut off the ignition.
How often should I change the 10-micron water separating fuel filter on a Yamaha?
Yamaha Marine recommends replacing the primary 10-micron fuel/water separator filter every 50 to 100 operating hours, or at least once per boating season. If you frequently purchase ethanol fuel at roadside gas stations, inspecting the clear inspection bowl monthly is strongly advised.
Can I clean the Yamaha VST filter without taking the whole intake manifold off?
On smaller four-cylinder models (F70, F90, F115), you can often unbolt the VST bracket with partial intake loosening. On larger V6 4.2L models (F225, F250, F300), the intake manifold plenum must be removed to access the internal fuel rails and VST chamber safely.
What does milky oil on my Yamaha four-stroke dipstick mean?
Milky or frothy oil indicates water contamination in the engine crankcase. This typically stems from a failed thermostat causing the engine to run too cold (“making oil” from fuel blowby and condensation), a leaking oil cooler gasket, or a cracked cylinder head gasket requiring immediate marine mechanic inspection.
Published by Boat Maintenance Guide Certified Marine Mechanics Desk. Inspected in accordance with Yamaha Marine Service Manuals and ABYC E-11 / P-4 marine standards. For certified engineering specifications, consult official protocols published by Yamaha Outboards Official Marine Maintenance.
Following this proven Yamaha outboard troubleshooting strategy protects your marine investment, enhances safety on the water, and minimizes unexpected mechanical repairs. For ongoing maintenance schedules and certified specifications, revisit our Yamaha outboard troubleshooting recommendations each season.


